Refresh Your Kitchen Like a Pro
Thinking of updating your kitchen without a full renovation? Painting your kitchen cabinets is one of the most affordable and transformative upgrades you can do. Whether you're going for a bright modern look or a classic rustic vibe, a fresh coat of paint on your cabinets can completely change the space. But to get a flawless finish, you'll want to follow a few key steps.
Here are some pro tips for painting your kitchen cabinets — even if you're a DIY beginner!
Choose the Right Paint (and Color)
Cabinet paint isn't just regular wall paint — it needs to be durable and easy to clean.
Best options:
- Acrylic alkyd paint: Gives you a smooth, hard finish that mimics oil-based paint without the strong fumes.
- Satin, semi-gloss, or gloss finishes: These are all easy to wipe down and resistant to kitchen grease and moisture.
- Pro Tip: Lighter colors can make a small kitchen feel more open, while darker tones create contrast and elegance.
Label Everything Before You Start
Take off all cabinet doors, drawers, and hardware (hinges, knobs, handles). Label each piece and where it belongs using painter's tape and a numbering system — trust us, this saves so much time during reassembly.
Clean Thoroughly
Kitchens are greasy. Even if your cabinets look clean, they've got years of built-up grime.
Use:
- A degreaser like TSP (trisodium phosphate)
- A sponge or scrub pad
Don't skip this step — paint won't stick to grease!
Sand the Surfaces
You don't have to sand down to raw wood, but a light sanding roughs up the surface so the primer sticks better.
Tools:
- Sanding sponge or sandpaper (120-150 grit)
- Tack cloth to remove dust
If your cabinets have a glossy finish, sanding is non-negotiable
Prime Like a Pro
Primer is your best friend. It helps paint stick and blocks stains or wood tannins from bleeding through. Use a stain-blocking primer — especially if you're covering oak, mahogany, or darker finishes.
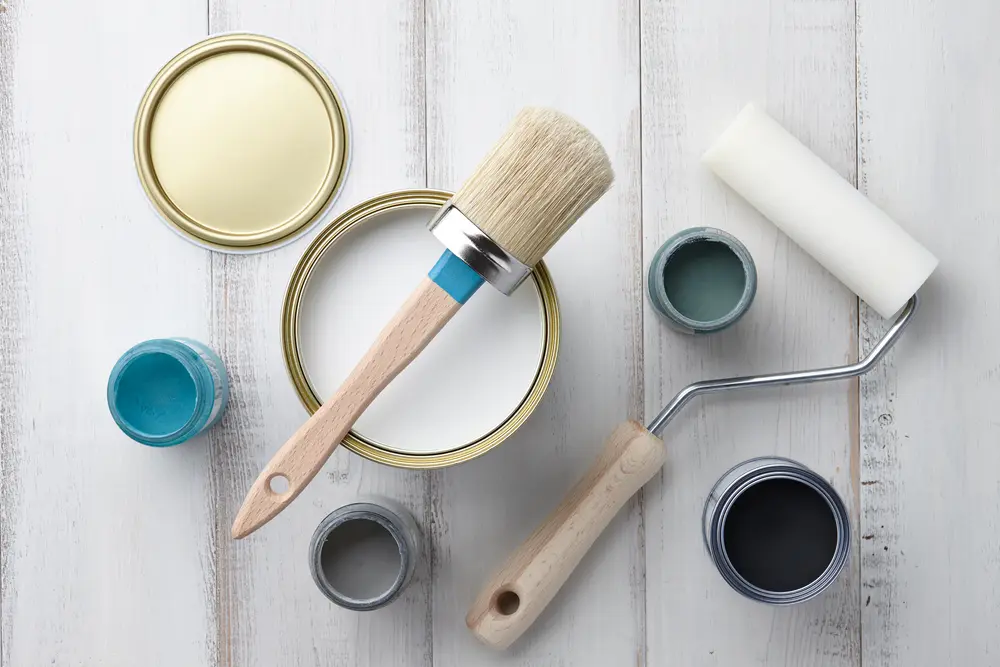
Use the Right Tools
To get that smooth, factory-finish look:
- Use a foam roller for large flat surfaces
- Use a good quality angled brush for corners and grooves
- Consider a paint sprayer if you're confident and want ultra-smooth results
Be Patient with Drying Time
Rushing leads to smudges, chips, and frustration.
- Let each coat (primer and paint) dry fully before adding another.
- Apply 2-3 thin coats instead of one thick one.
- Let the final coat cure for at least 48 - 72 hours before reinstalling doors and hardware.
Protect the Finish
Once dry, your paint is still curing — be gentle with your cabinets for the first few days. Optional: Add a topcoat or clear polyurethane for extra durability, especially in high-traffic kitchens.
Bonus Tips:
Final Thoughts
Lay doors flat while painting to avoid drips. Paint in a well-ventilated area. Cover counters and floors to prevent splatter.
Not sure you want to tackle it yourself? Our expert team at Roypainting specializes in cabinet refinishing and painting. We'll give your kitchen a fresh new look—without the mess or stress.
📞 Contact us today for a free cabinet painting quote!